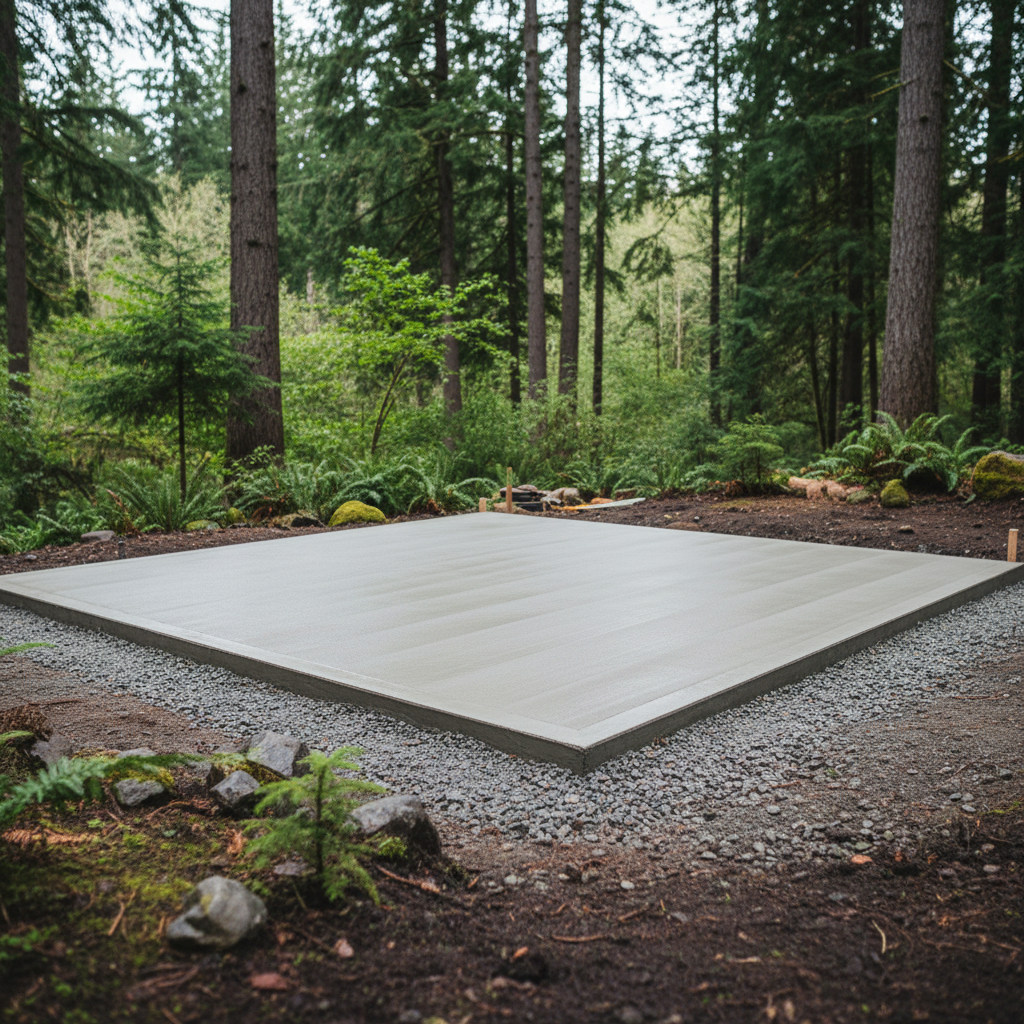
Digging a hole in the Renton Highlands after three days of steady October rain is very difficult. The soil acts like thick mud. When homeowners plan to put up a backyard structure this season, the whole project lives or dies right in the dirt. If the ground prep is wrong, the doors will not latch by next winter.
Before You Dig: Reading the Yard
Homeowners should start by looking at where water actually pools when a real storm hits. Down in the valley near the Cedar River, property owners are dealing with silty clay that holds onto moisture for a very long time. Up on the benches, you might hit hardpan just two inches down. Do not guess what lies beneath your sod. Call 811 before you touch a shovel, because hitting a utility line causes serious problems.
Homeowners can handle the initial layout and sod removal themselves if they have a free weekend and a good flat-point shovel. Strip the organic topsoil completely down to the stable sub-base. If you leave grass and roots under your footprint, they rot and leave you with a sunken corner.
Choosing Your Base Style
For most standard backyard builds around here, a crushed gravel pad inside a treated timber frame works very well. It lets water drain right through instead of pooling against your floor joists. Skid foundations are another solid DIY bet for smaller structures, letting the whole frame float slightly above grade.
Here is where property owners draw the line between DIY labor and hiring a professional. If you are building a heavy two-story hobby shop or need poured concrete piers on a steep slope in the Renton Hills, call a pro. Pouring concrete that stays square and level while fighting our local weather takes gear and experience you probably do not keep in your garage.
Executing the Work
If you are building a gravel pad, dig out about four to six inches. Lay down heavy-duty geotextile fabric to keep the weeds from punching through your stone later. Fill it with crushed rock, using something with angular edges like crushed 5/8-minus that locks together when you tamp it.
Rent a plate compactor from the local hardware store. Do not skip this step and try stomping it down with your boots. Run that machine over the soil first, and then run it over every couple of inches of gravel. A loose base will shift the moment the area gets a heavy freeze.
After the Base is Set
Once your pad is dead level, frame your floor and check your diagonals. Measure corner to corner both ways; if the numbers match, your square is true. Custom Sheds of Renton knows that taking an extra hour on this measurement saves days of headache when you are trying to hang siding. Keep the wood decking at least six inches above the surrounding dirt line to keep splash-back rot away.